Monday, September 9, 2013

envelopes

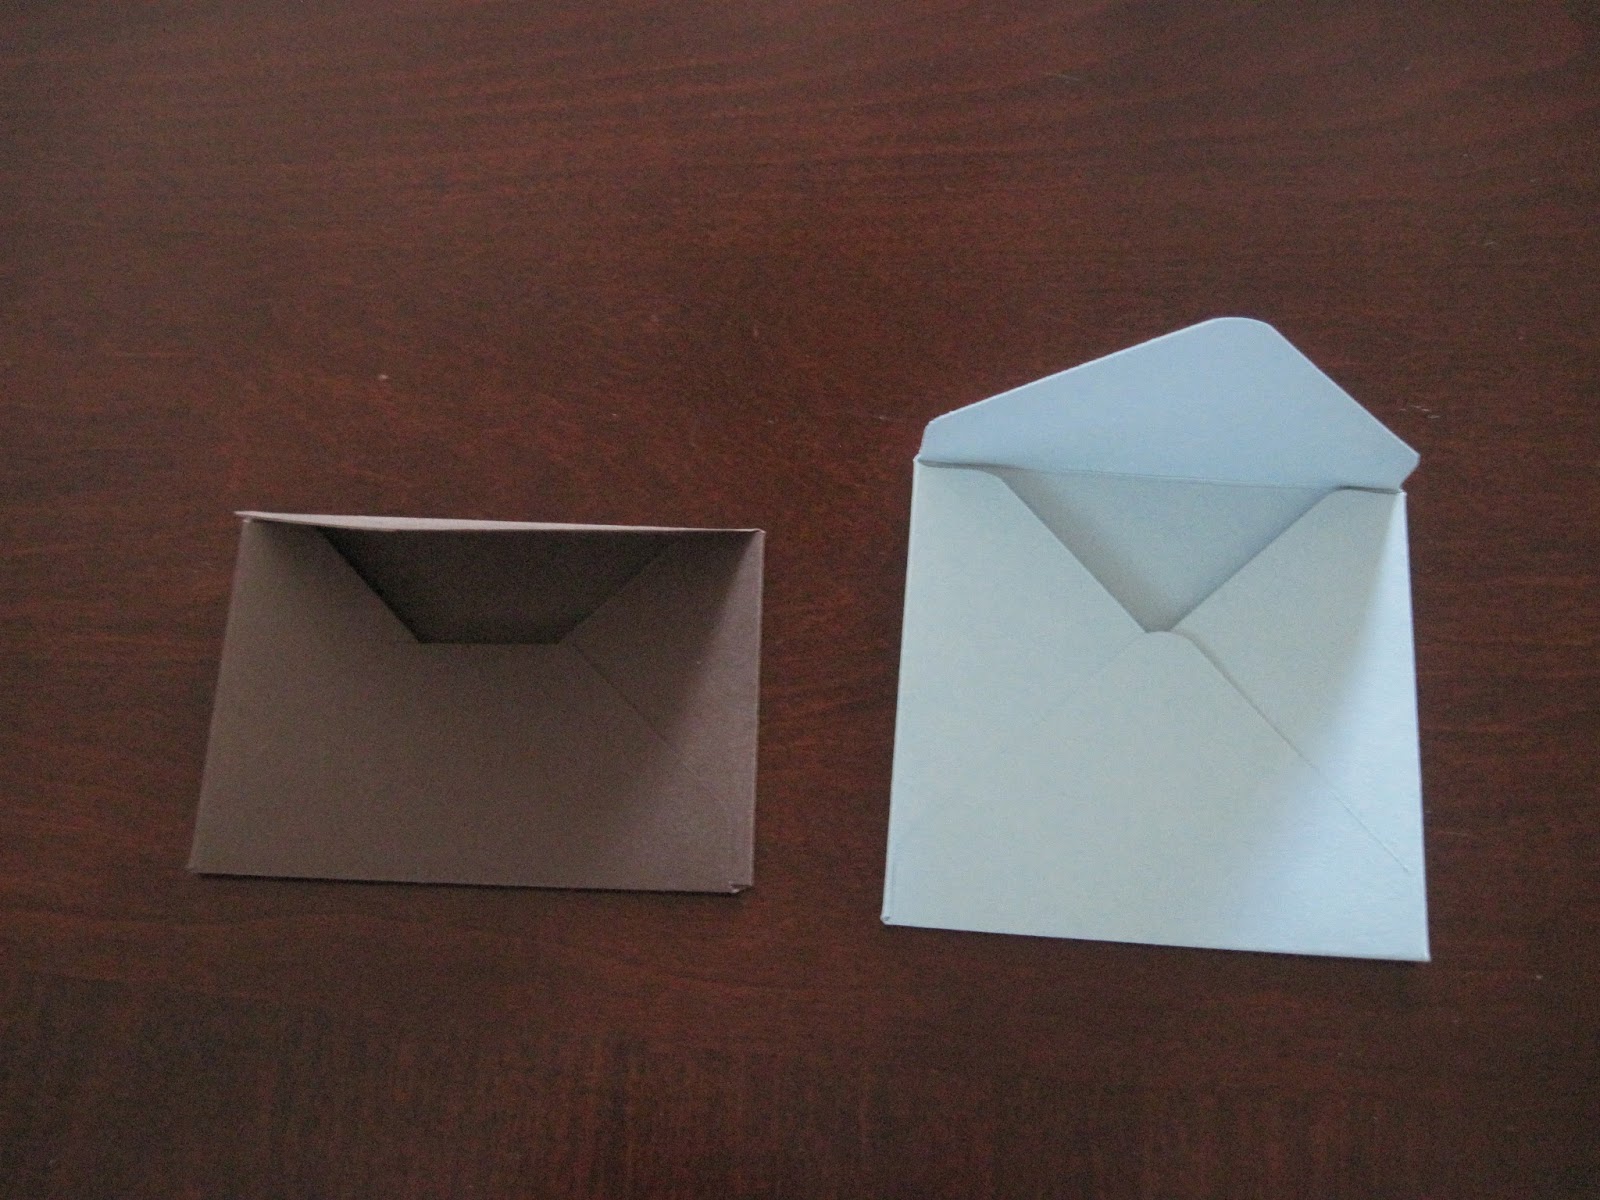
 Here are some envelopes I made using the Envelope punch from Stampin Up!

I made a 3 1/2" x 3" note card with  matching envelope.


Here are two small envelopes different shapes


This is the smallest size envelope and the largest size envelope
Small fits a 2"x 3 1/2" card. Large envelope fits a 6" x 8 1/2" card

Hermy's Shop

Sunday, September 1, 2013

Envelope Punch !!

b1_EnvelopePunch_demo_aug1513_NA


This brand new Envelope Punch from Stampin Up is now available!!! 

You will be able to make envelopes of any size! 

Use Card Stock, Designer Paper, Vellum and more!

 Details:

It creates envelopes in up to 66 different sizes.
It's super easy to use
It's small and lightweight
It has a slick scoring too that fits in its own little spot 
It has a punch that lets you create rounded corners
The price...$19.95
It will be in next years annual catalog, so it's here to stay


I pre-ordered my Envelope Punch  and I have been making envelopes of all sizes.  I even made a gift card holder.

I will post pictures next time!

Click  Here  to order yours today and start making your own envelopes!

Thursday, August 29, 2013

Yummy Dip


I was craving a good dip for my corn tortillia chips.

I wanted something different than the usual salsa etc.

I thought "why not use garbonzo beans" ( some call them chickpeas).

So......

I cut up a couple of avocados ,tomatoes, green onion, celantro, garlic,vinegar,olive oil, seasonings and a can


of garbonzo beans.

It was delicious.

Actually it is so good..who needs tortilla chips,  a spoon works just as good!


Tuesday, August 27, 2013

Playing with air dry clay!

I have been having a lot of fun with the Simply Pressed Clay and Buttons and Blossoms Pressed Clay Molds from Stampin Up!! The clay is so soft and easy to work with. When dry it is very lightweight, feels like foam! You can add color to clay before molding by kneading ink into the clay. Or you can color after it has dried using markers paint, glitter etc. Or just leave it white!
There are many ways to pop clay out of the mold. I tried them all, putting cornstarch in mold was a good method, baby oil wipes in mold was a bit messy for little ol me and just pulling them out and "fixing" it up before drying was...well didn't work for me. I found the best results to put the mold with clay in the freezer for 10 to 20 minutes. They popped right out and the results looked great!


 Also when using the button mold, place a bit of clay in mold and gently roll the clay. This opens up the button holes...easy-peasy.


The package is 2.4 oz but it goes a long way. I have a 7 1/2 by 5 1/2 container full of my clay embellishments. Oh and did I tell you that you can use any mold. I used my polymer clay molds,candy molds etc!! Like I said I am having fun!  They make great embellishments!!


Simply Pressed Clay item # 130685
Buttons and Blossoms Simply Pressed Clay Molds Item # 131272
You can click  Hermys shop  for more information or to place an order!

Have a great day! Thanks for stopping by! :)


Friday, April 19, 2013

Color changes at Stampin'Up!


Some changes with the colors at Stampin'Up! coming soon.  The Color change will be in our new annual 2013-2014 catalog. The "Goodbye" colors are still available until sold out .

Thursday, April 18, 2013

Brayer Technique

I love going to thrift shops. I especially love it when I find a great "deal" on craft supplies.
I came across a Clear 12 x 12 plastic case filled with goodies. All for $2.99. The case was sealed with tape so I couldnt open it up to look inside at all the goodies.(But) Looking through the plastic container and turning it upside down etc....I did see some ribbon, paint brushes, thread, and a Brayer!!!!  I bought it. The brayer was still in the original package, unopened!!! New paint brushes too.  So much "stuff" inside, well worth the $2.99.

Here is a cool technique to use with the Brayer


LAYERED BRAYER

Directions:

 Heat emboss your chosen images on Glossy White card stock using VersaMark ink and Clear Stampin' Emboss powder. Bold images work best for this technique.

 Ink your brayer with a light color of ink, and bray your card stock.

 Use a sticky note or scrap paper cut to desired shapes and sizes to cover portions of your card stock.

 Ink your brayer with a darker color of ink, and bray your card stock again.

 Repeat process if extra layers are desired.

 Remove paper scraps and wipe embossed images to remove excess ink. 


Hermy's Store

Friday, April 5, 2013

Free Shipping SUP


FREE shipping on EVERYTHING April 6-8 (excluding expedited orders)! That's right. There are no minimums or limits!!

My Store