Wednesday, December 4, 2013

I have had this darn cold for a few days now. I have no energy. All I am doing is sitting and looking at all the craft sites online! Makes me want to get up and play in my craf troom but the body doesn't want to move lol!

Stampin Up has added a few things to our online store. They are offering a stack of pre-cut and pre-scored card bases. How cool is that. Saves time. 20 cards in each package.


                                                                    Hermys Store


Here are some pre made Christmas Cards Kit that they are offering,

Merry Little Christmas Clear-Mount Bundle   # 133287

BUNDLE & SAVE!
Merry Little Christmas Clear-Mount Stamp Set + Merry Little Christmas Simply Created Card Kit = 15% savings for you! Also available in Spanish and French.
Elements to make 8 cards: Card stock cards, envelopes, envelope liners, die-cut Designer Series Paper and card stock accents, buttons, Baker's Twine. Finished card size: 4-1/4" x 5-1/2


Merry Little Christmas Clear-Mount Bundle
Click here


I finished making my Christmas cards. I just need to mail them out. I love using the Gold and the Silver Glimmer paper and  the Vellum card stock.


I used this stamp set and this embossing folder
Joyful Christmas Clear-Mount Stamp Set    #131805


Pretty Print Textured Impressions Embossing Folder #132175

Pretty Print Textured Impressions Embossing Folder

Tuesday, September 10, 2013

CRAYON RESIST
1) Stamp your image in Basic Black Classic ink or StazOn ink on Glossy White or  plain white card stock.

2) Color areas you want to remain white--or that you want different from your background color--using White  Crayon.

3) Use a brayer or sponge daubers to cover the entire surface of the card stock with ink.

4) Wipe off excess ink with a tissue.

Tips:

·  Give the ink time to dry before coloring your image with your crayon; otherwise the lines of  your image may smudge.


·  After  Step 4, you can color over the masked area with Stampin' Write markers or using watercolor tools.


Monday, September 9, 2013

envelopes

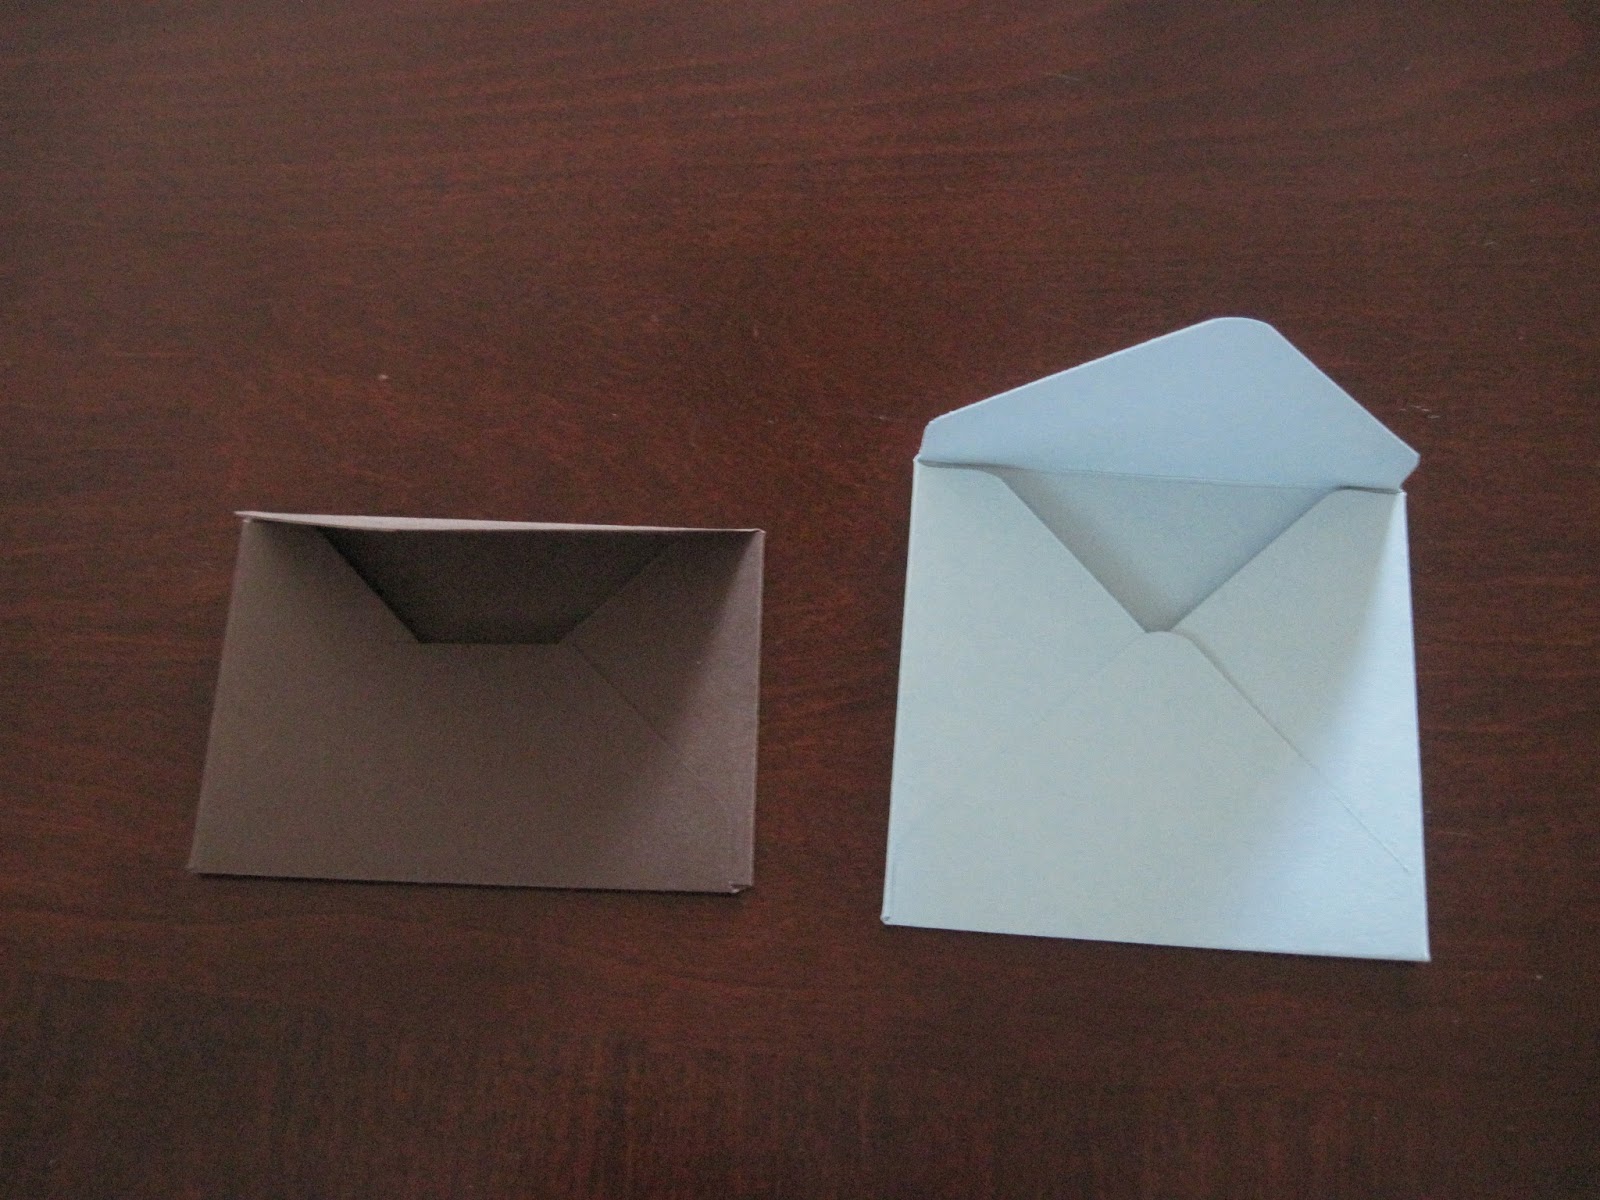
 Here are some envelopes I made using the Envelope punch from Stampin Up!

I made a 3 1/2" x 3" note card with  matching envelope.


Here are two small envelopes different shapes


This is the smallest size envelope and the largest size envelope
Small fits a 2"x 3 1/2" card. Large envelope fits a 6" x 8 1/2" card

Hermy's Shop

Sunday, September 1, 2013

Envelope Punch !!

b1_EnvelopePunch_demo_aug1513_NA


This brand new Envelope Punch from Stampin Up is now available!!! 

You will be able to make envelopes of any size! 

Use Card Stock, Designer Paper, Vellum and more!

 Details:

It creates envelopes in up to 66 different sizes.
It's super easy to use
It's small and lightweight
It has a slick scoring too that fits in its own little spot 
It has a punch that lets you create rounded corners
The price...$19.95
It will be in next years annual catalog, so it's here to stay


I pre-ordered my Envelope Punch  and I have been making envelopes of all sizes.  I even made a gift card holder.

I will post pictures next time!

Click  Here  to order yours today and start making your own envelopes!

Thursday, August 29, 2013

Yummy Dip


I was craving a good dip for my corn tortillia chips.

I wanted something different than the usual salsa etc.

I thought "why not use garbonzo beans" ( some call them chickpeas).

So......

I cut up a couple of avocados ,tomatoes, green onion, celantro, garlic,vinegar,olive oil, seasonings and a can


of garbonzo beans.

It was delicious.

Actually it is so good..who needs tortilla chips,  a spoon works just as good!


Tuesday, August 27, 2013

Playing with air dry clay!

I have been having a lot of fun with the Simply Pressed Clay and Buttons and Blossoms Pressed Clay Molds from Stampin Up!! The clay is so soft and easy to work with. When dry it is very lightweight, feels like foam! You can add color to clay before molding by kneading ink into the clay. Or you can color after it has dried using markers paint, glitter etc. Or just leave it white!
There are many ways to pop clay out of the mold. I tried them all, putting cornstarch in mold was a good method, baby oil wipes in mold was a bit messy for little ol me and just pulling them out and "fixing" it up before drying was...well didn't work for me. I found the best results to put the mold with clay in the freezer for 10 to 20 minutes. They popped right out and the results looked great!


 Also when using the button mold, place a bit of clay in mold and gently roll the clay. This opens up the button holes...easy-peasy.


The package is 2.4 oz but it goes a long way. I have a 7 1/2 by 5 1/2 container full of my clay embellishments. Oh and did I tell you that you can use any mold. I used my polymer clay molds,candy molds etc!! Like I said I am having fun!  They make great embellishments!!


Simply Pressed Clay item # 130685
Buttons and Blossoms Simply Pressed Clay Molds Item # 131272
You can click  Hermys shop  for more information or to place an order!

Have a great day! Thanks for stopping by! :)


Friday, April 19, 2013

Color changes at Stampin'Up!


Some changes with the colors at Stampin'Up! coming soon.  The Color change will be in our new annual 2013-2014 catalog. The "Goodbye" colors are still available until sold out .